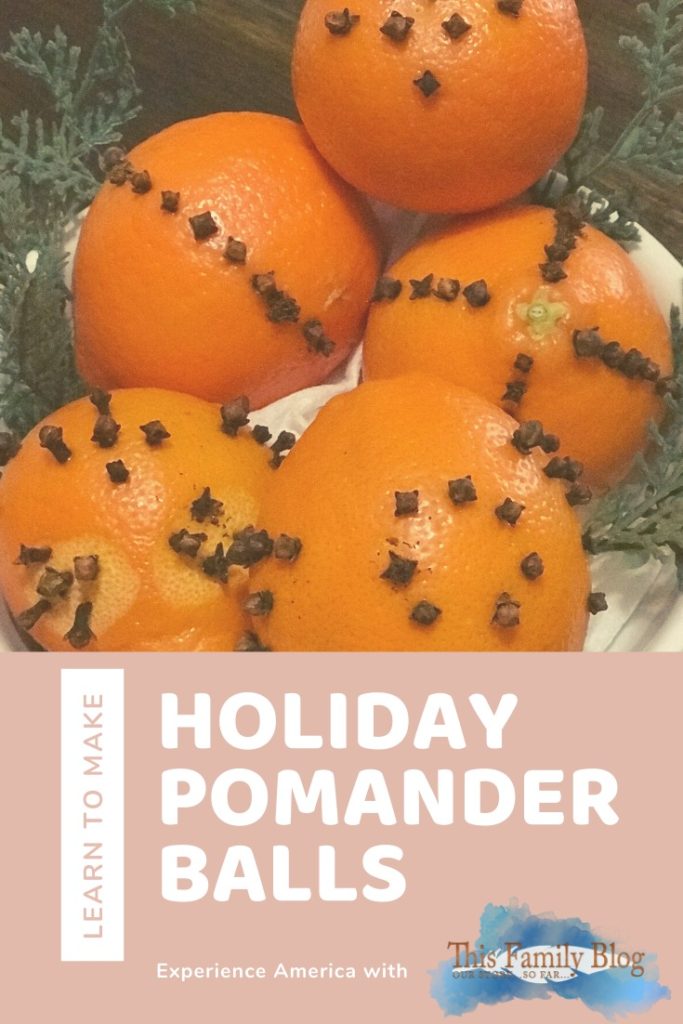
Ever see those old fashioned good smelling traditional decorations and wonder how to make pomander balls? Well, here’s your tutorial and the interesting history behind them. Time to ‘make’ history!
History of Pomanders
Pomanders have held a place in history for centuries and they’ve taken many interesting forms.
A pomander, in essence, is a ball made for perfume. For centuries, people would carry a pomander as a means of protection against infection and disease. Pomanders were very popular in times of widespread disease as it perfumed the air immediately around it so carrying one made it tolerable to walk streets where filth and disease resigned. (Gross)
Pomanders could be in a necklace, a little vase, even a ring or on a rosary. Most common was as a little bag. These mechanisms were used as early as the mid thirteenth century and documented for the next several hundred years.
There are versions of the pomander that are made with oranges and cloves as a recovery charm against witchcraft. It’s no surprise than that pomanders worked their way into organized religion. For example, the Jewish tradition used cloves in apples to create aromas to keep participants awake during Yom Kippur.
Pomander Balls in America
It’s in the 18th century we do see pomander balls as we know them today. However, it should be noted these were a luxury. Most founding families would not have wasted perfectly good oranges on simple decoration. Not when there was scurvy to keep at bay during those long winter months.
Having said that, one could find a pomander ball in colonial homes in baskets or cupboards and in a handkerchief for a traveler to smell on the road (again, to cover any nasty smells in the street…and oh, were there nasty smells).
In the Victorian era, pomander balls were a staple in many American homes and a lovely tradition families looked forward to creating.
Pomanders, Fruit, and Colonial Williamsburg
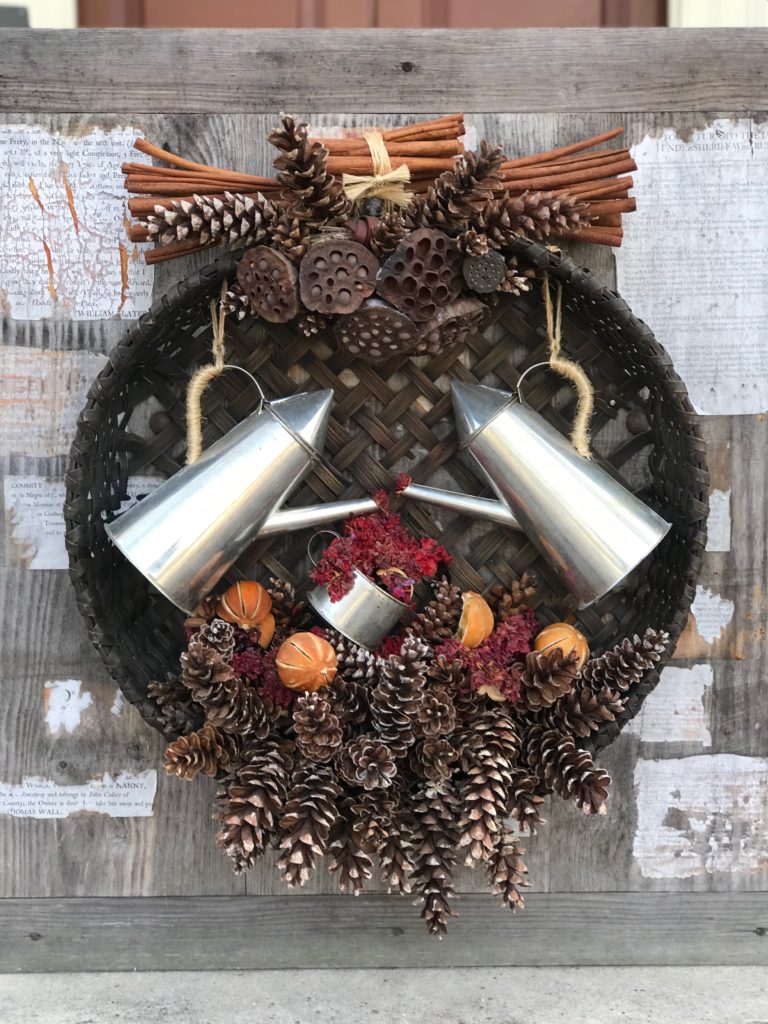
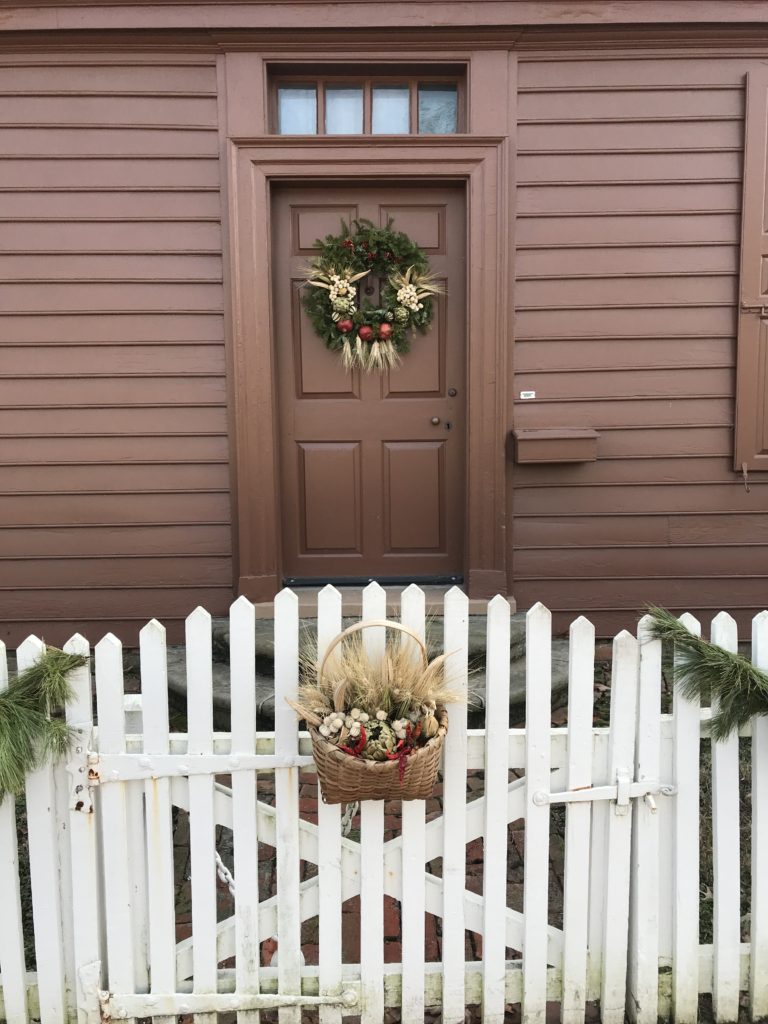
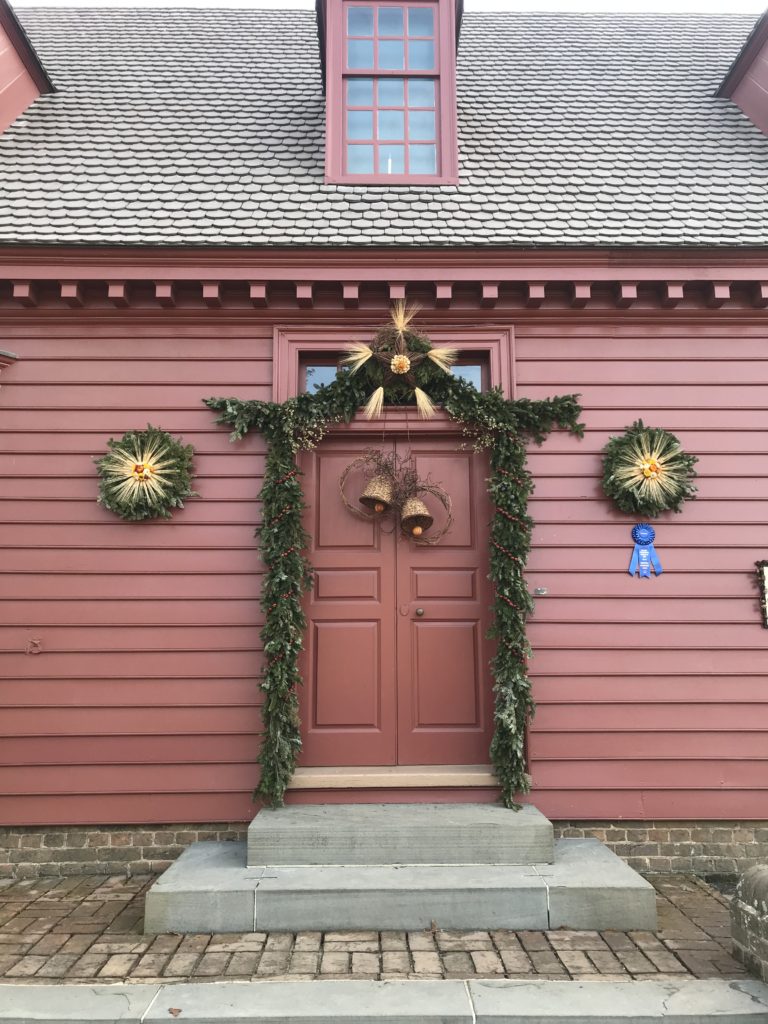
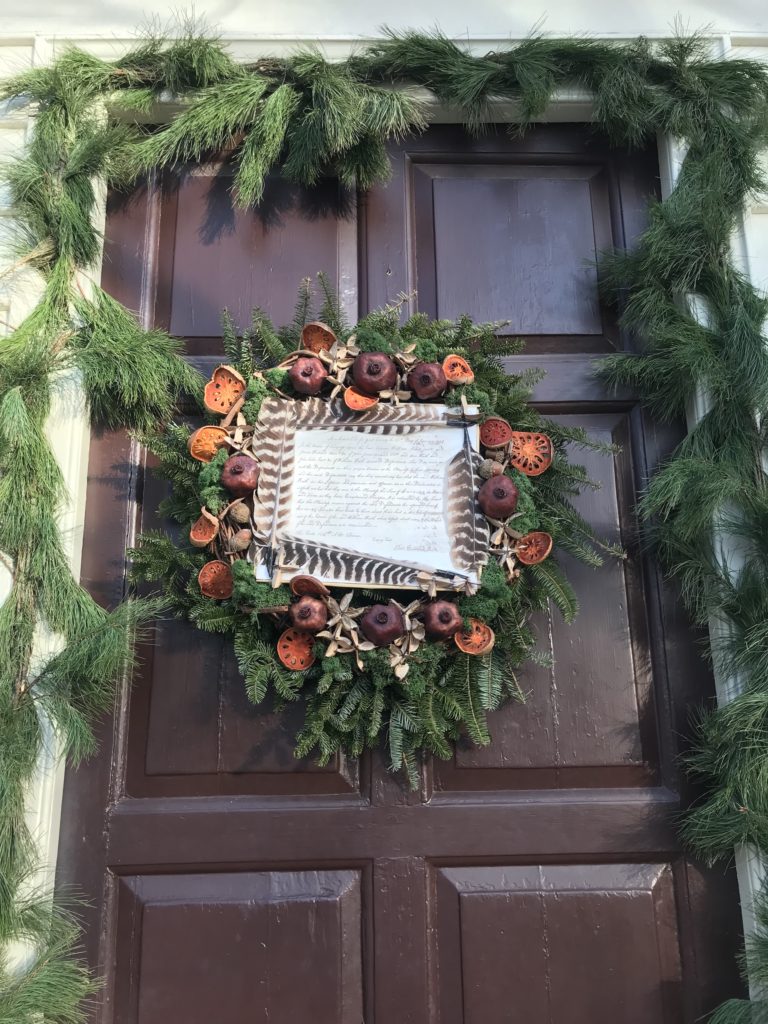
Colonial Williamsburg is known for their ornate decorating using fruit and pomander balls are prevalent. This tradition, however, does not date back to colonial times, but rather was a compromise made for the residents and their decorative style in the 1930’s.
Most early Americans didn’t really celebrate Christmas. If they did, they didn’t decorate for it. And they certainly didn’t use fruit that they would need to you know, eat and survive.
In the 1930’s Colonial Williamsburg was being restored with Rockefeller money. The residents certainly decorated as was the norm in that time period. Well, the Williamsburg residents weren’t so happy to be told that they had to go ‘Colonial authentic’ which meant no decorations. And the suits at Williamsburg weren’t looking forward to blinking lights and plastic reindeer and Santas in the residents yards.
The compromise was made with allowing residents to decorate but with the challenge to use materials that would have been around and available to colonists. The residents agreed and they used a method called DellaRobbia style which used lots of fruit, greenery, seeds, etc.
So the pomanders as decoration isn’t historically accurate but it sure is pretty!! And it smells AMAZING!!
Supplies to Make Pomander Balls
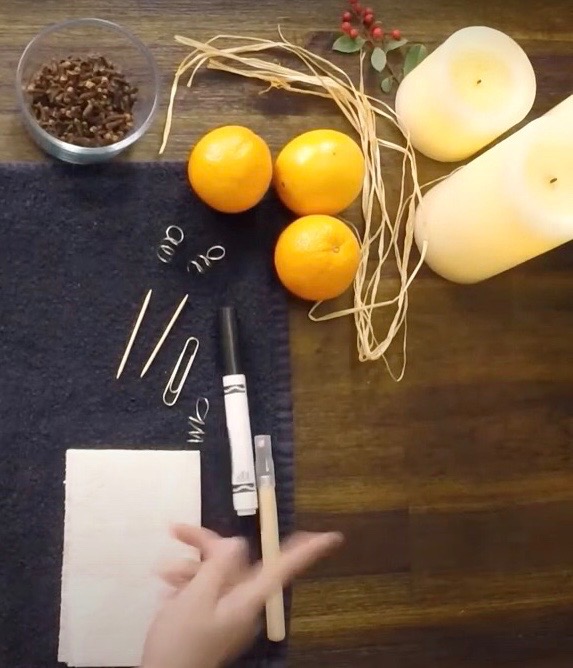
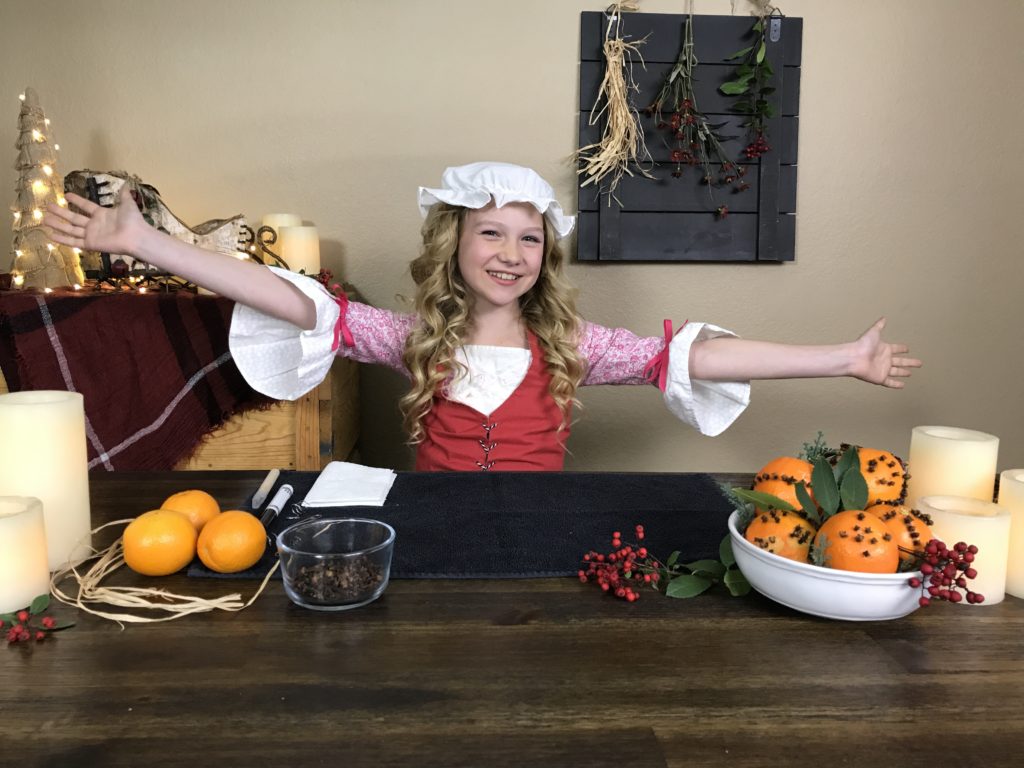
To make these historical lovelies you don’t need much…
oranges
whole cloves
toothpick (to make your life way easier)
Optional: marker, carving tool, ribbon or rafia, hanger (or paper clip and a pencil to reshape it)
Video Instructions to Make Pomander Balls
Colonial Crafts You Tube Play List
Steps to Make Pomander Balls
Now that you know the history, here are the steps to make your own pomanders.
Step One
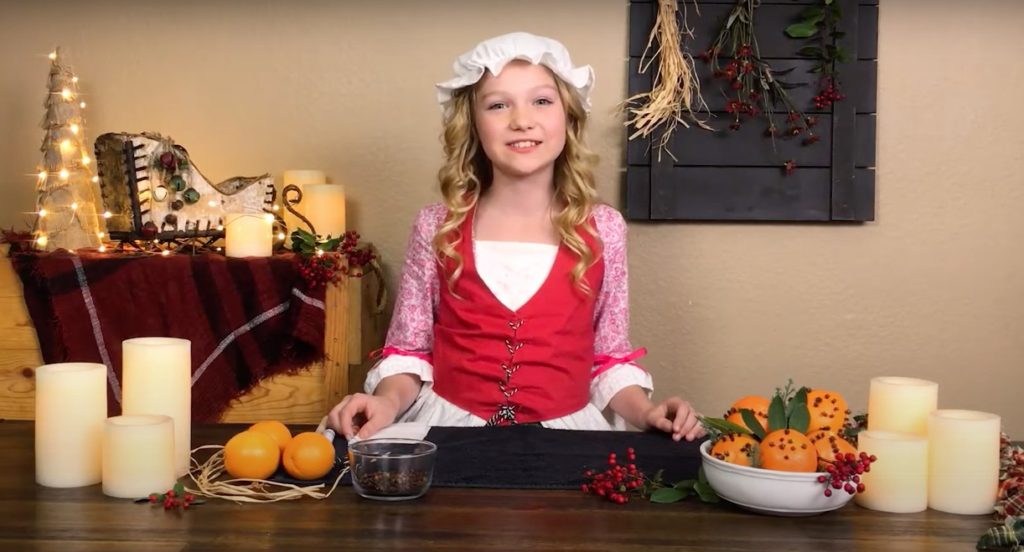
Prepare your work space and gather your materials
Step Two
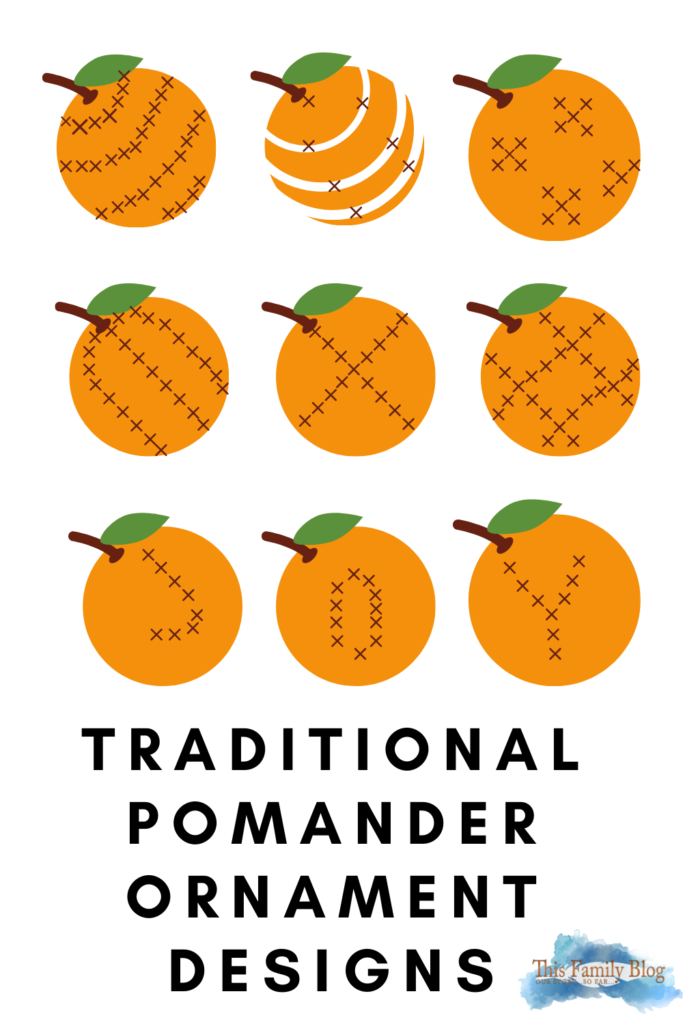
Choose your design. Really anything goes here but we put together this handy guide for you for some simple and traditional designs.
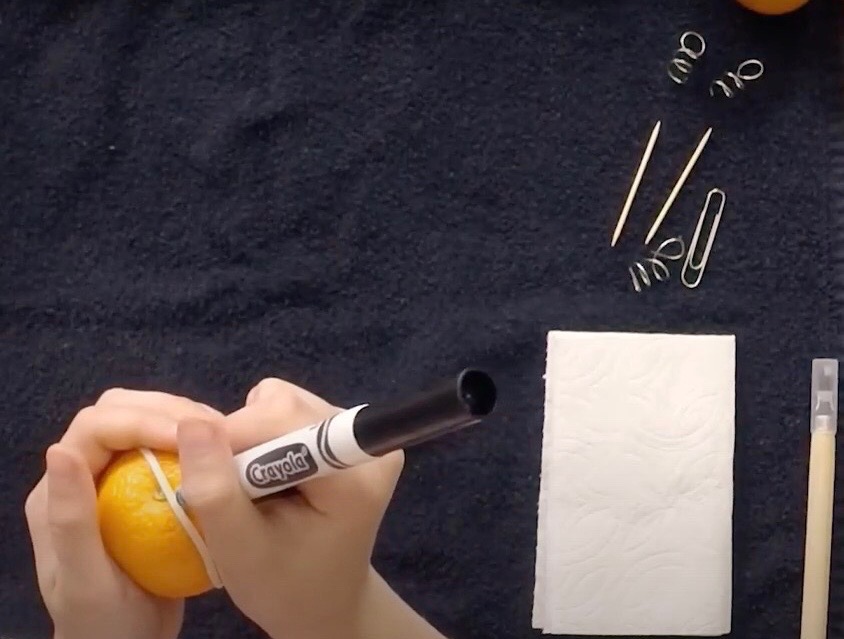
Draw your design on the orange with a marker. Another option is to use a rubber band around the orange to help with straight lines.
Step Three
Use your toothpick to poke holes anywhere you are going to put a clove.
HINT: The orange will shrink as it dries out so make sure you don’t put the cloves too close together. They will get closer as the orange shrinks and dries.
Step Four
Poke cloves into the holes you made with your tooth picks. This is where things start smelling WONDERFUL!!!
That’s it! You can now put your pomander balls in a bowl for display or use the hangers to hand in windows or doorways.
Hanging Your Pomander Balls
Traditionally, rafia or ribbon was used to tie around the orange and then hung. Another option is to use the little metal hangers (or create one out of a paperclip) and simply screw into the top of the orange. It goes in very easily and you can use tread, yarn, ribbon, or rafia to hang from there.
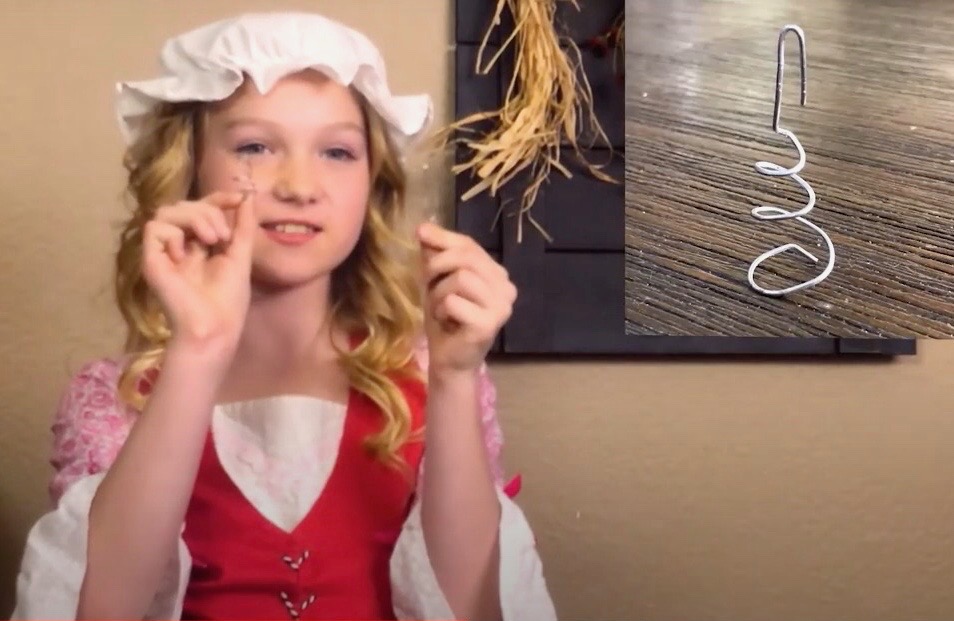
Here is a little video walking you through how to make the screw top hangers with nothing but a pencil and a paper clip.
A note on Carving Tools
A carving tool is available in the Colonial Craft Supply Shoppe. It’s much like carving a pumpkin except the orange is softer. It is sharp so be sure to push away from the body, not toward it. Using the carving tool will release a lot of the orange oil so will give off more fragrance. Remember you are just scraping the skin, not digging down to the meat of the orange.
**If a minor is using it, please have adult supervision for this step**
Keeping Pomander Balls
Pomander Balls will only keep fresh for a few days in a bowl. If you live in a damp climate, keep on the lookout for mold. If you see mold, time to dispose of the pomander. Realistically, about 4-7 days.
Drying Pomander Balls
Pomander Balls can be kept long term but they need to be dried. The best way is in a dehydrator. The cloves actually act as wicks to pull the moisture out. Dry at a low heat (100-ish) until they are hard. Once they are dry (and your house will smell festive and awesome) pomander balls can be stored in a closet and then brought out and reused for several Christmases to come.
If you don’t have a dehydrator, the drying process takes about six weeks. Your pomander balls will need to be in a cool dry place. Warning: any sign of mold, compost the pomanders.
How will you know your Pomander Balls are completely dry?
When completely dried the pomander balls will feel light and when you tap on them, they will sound hollow.
BONUS: Dried Pomander balls in the closet repel moths!
How to Refresh Your Dried Pomander Balls
As you bring out your pomander balls for Christmases to come you will note the scent will fade over time. It can be easily refreshed by simply adding a couple drops of essential oil to them. We recommend cinnamon, clove, and sweet orange, all of which can be found in Sage’s Colonial Craft Supply Shoppe.
Another option is to dust the pomanders with a mixture of cinnamon, cloves, nutmeg, and ginger. It refreshes the smell immediately and robustly but it does create ‘dust’.
Final Notes
We hope you enjoyed ‘How to Make Pomander Balls’! We sure had a great time doing this age old tradition. The history of exactly when it began may be a bit murky but the smells are clear and warm and definitely exude holiday. Our house smelled AMAZING!!! And we for sure will be doing this regularly.
We love to explore American History through hands on projects and invite you to do so too. Be sure to check out all our Colonial Craft tutorials! They are fun for the whole family!!! (and pretty easy to do too). If you want the videos and nothing else, the entire playlist is on This Family Blog You Tube. If you want a little more, each tutorial has it’s own blog post with history and helpful hints just like this one.
Happy Christmas!
Pin How to Make Pomander Balls for Later!
Save this ‘How to’ to reference for many holidays to come.
Stay In Touch with This Family
Receive our weekly email that and be the first to know about new posts and be entered in exclusive give aways and more. All fun, no junk. We won’t give your email to anyone (because that is just rude) and you can un subscribe any time. 🙂


