How to make ink for your quill pen
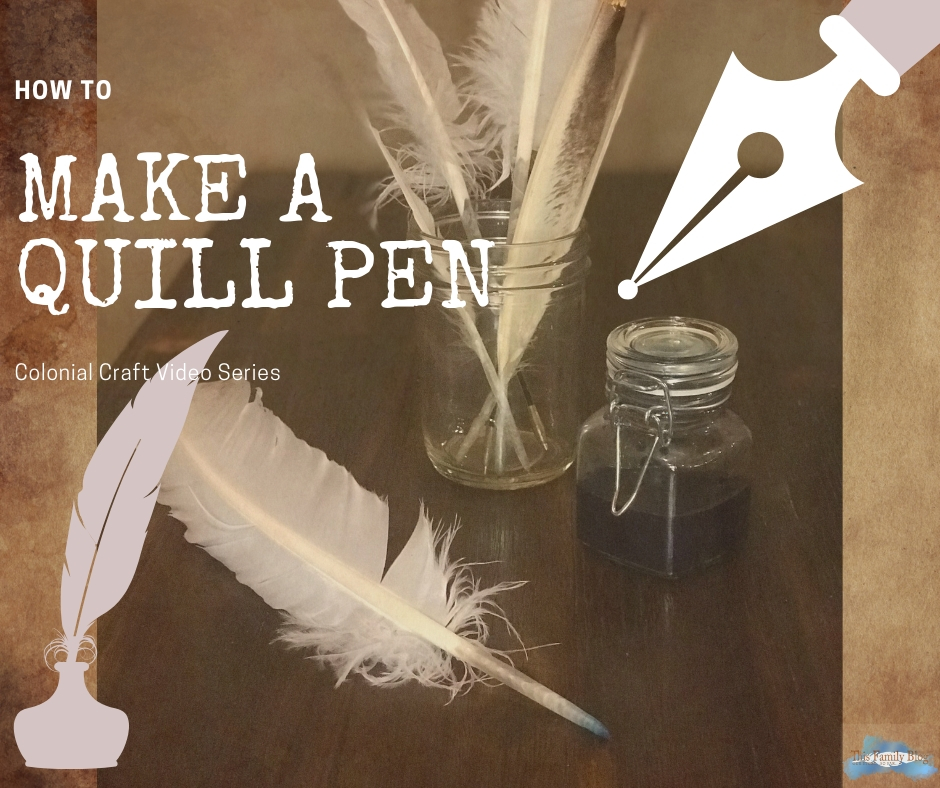
In the previous tutorial, Sage showed you how to make a Quill Pen. If you missed it, watch that first.
Now that you have your fabulous quill pen, you probably want to learn how to make ink so you can use it! PERFECT for Harry Potter fans too!! Let’s do it!
How to make Ink Tutorial
Supplies
Ink Jar: https://amzn.to/2HMkgDJ
Liquid Bluing: https://amzn.to/2FDUs9r
Skewers: https://amzn.to/2HWST9e
Strainer: https://amzn.to/2Oxaea3
Wooden Spoon: https://amzn.to/2HIOd7z
OR Visit Sage’s Colonial Crafting Supply Shoppe
SEE ALL THE COLONIAL CRAFT VIDEO SERIES HERE
Fun Quill and Ink Facts
Quill and ink were used from the second century BC to late 1800’s as writing implements.
Steel nibs replaced quills due to quill pens only lasting about a week.
Best time to pull a feather was in spring.
Harry Potter used an eagle feather quill that was a Christmas gift from Hermione.
History
Colonists usually made their ink using natural colors with water. They used a lot of different things. To make black they used soot and mixed it with egg yolks and honey or they would roast potatoes until they were black and use that powder with oil. To make blue they used the indigo plant and it was a very big deal. Today I’m making Prussian Blue ink and its way easier then what they went through with the indigo plant.
Prussian Blue Ink
Step One
Cover your work surface entirely.
Step Two
Pour about 1/4 cup of water into your jar
Step Three
Add 2 teaspoons of bluing and stir it well. You can add more bluing if you like until you get the ink as dark as you want. Use your beautiful quill pen you made in the last lesson to test the ink and see if you like the shade.
Step Four
Us the jar as your inkwell and keep the lid on tight when you aren’t using the ink.
Berry Red Ink
Step One
put two or three berries in a strainer over a bowl.
Step Two
With the back of a spoon smoosh the berries so the juice drips into the bowl
Step Three
Either eat the berry smoosh or throw it away. Don’t leave smooshed berries
around. They stain!
Step Four
Smoosh berries again. Do it until you have about a 1/4 cup of juice
Step Five
Add 1/2 teaspoon of salt and 1/2 teaspoon of vinegar. Stir with a stir stick. I use
skewers because they are small and I can just throw it away when I’m finished. If it’s too thick
add a wee bit of water.
Step Six
Pour the berry juice through the strainer into your ink jar. Use or keep the lid on it! This ink will mask about a week.
Colonial Quill and Ink Facts
Thomas Jefferson raised special geese just to make sure he had good quills
Alexander Hamilton was known for his beautiful handwriting, with quill and ink of course which is in part why he earned the position of Chief Secretary to George Washington.
The Declaration of Independence, US Constitution, and Bill of Rights are all written and signed in iron gall ink on parchment.
All 56 signers of The Declaration of Independence used the same Goose Flight Quill.
Berry ink (as demonstrated in the video) was widely used by early colonists but it faded over time so something else was required.
Iron Gall ink was the ink of choice in colonial times. It dries blue-black but turns brown over time due to oxidation… in other words, it rusts.
SEE ALL THE COLONIAL CRAFTING VIDEOS HERE
Do you enjoy watching Colonial Crafting with Sage? Consider signing up for our newsletter so you’ll be the first to be notified about new posts like these!
Watch: How to Make a Quill Pen Harry Potter would be Jealous Of
Read: How to Make magical color changing Bath Bombs
VISIT OUR AMAZON STORE TO PURCHASE ALL SUPPLIES


Fun! Thank you for sharing!
You are welcome
What a super fun project and Sage is totally adorable! Not to mention I love her name too 🙂 Thanks so much for sharing!
aww thank you! I’m glad you enjoyed.
What a fun project. This would be something my youngest would enjoy doing.
awesome! I can’t wait to see how yours goes!
So freakin cool. I love this post and I’m really going to have to do this with the kids.
YES!
Super cool! I would’ve never thought to do this project. Fun way to incorporate a little history.
How fun! And Sage is adorable!
What a great idea! Thank you for sharing!
Glad you enjoyed! It’s a fun craft to do
This is so cool! I never even though about making ink like this.
right? Yet it really wasn’t that long ago it was the norm. People did it all the time.
This is so cool! And I absolutely love the video! Sage is so adorable!
Thank you. We had fun!
Oh cool! This was so interesting, love learning about this kind of stuff, and this video was super cute too!! Thanks for posting!
I’m glad you enjoyed! We have a lot of fun making them
This was so cute! I can’t see myself doing this but one of my nieces is super artsy-crafty with her kids so I sent her the link! Thanks
Wonderful! That’s great.. hey I watch plenty of videos I never end up actually doing. Sometimes it’s just fun to learn about something new. But thank you for passing us on…next one coming up is how to make butter
How fun! I have a couple Harry Potter fans that would love doing this.
Oh I’m so happy to hear that! Be sure to check out the quill pens video! Sage shows how to add a little extra sparkle and magic JUST for that!
This is a cool project! I’ve never thought about it before.
YAY! That’s the idea! We’re bringing fun historical stuff to do back into vogue!
I love writing with a quill pen. Definitely takes some practice!
OH my gosh yes! It gives a real appreciation to the Declaration, the Constitution, and really anything that is an old letter… no ‘edit undo’ LOL
What a fun idea! Thanks for sharing.
Glad you enjoyed!!
OMG YOU CAN MAKE INK?!?!?!? This is so cool!
hahahaha YES! And a quill pen too!!
Love this post! What a cute idea with all your fun facts. Really enjoyed it.
Oh I’m so glad you enjoyed it! We had a lot of fun making it!
Great video! Neat to incorporate history into crafts!
That’s kind of what we do 🙂
What a fun project! Thanks for sharing!
Glad you enjoyed!